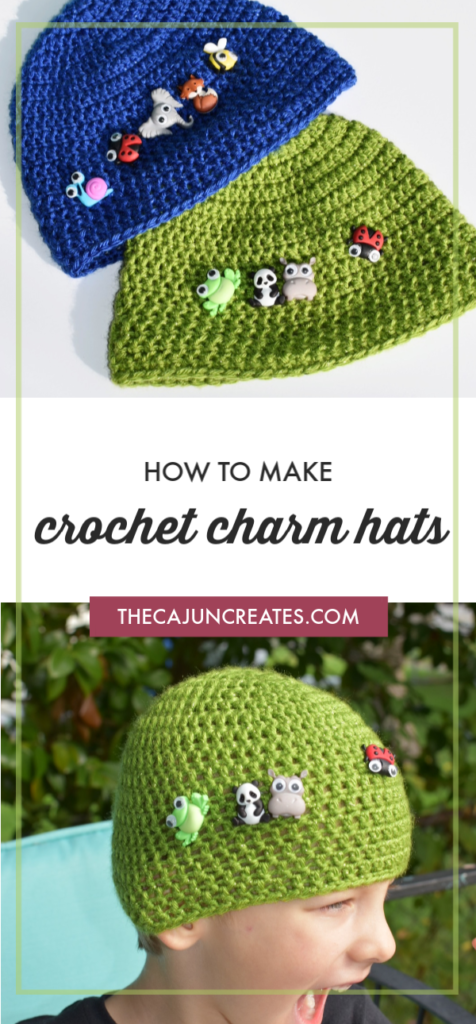
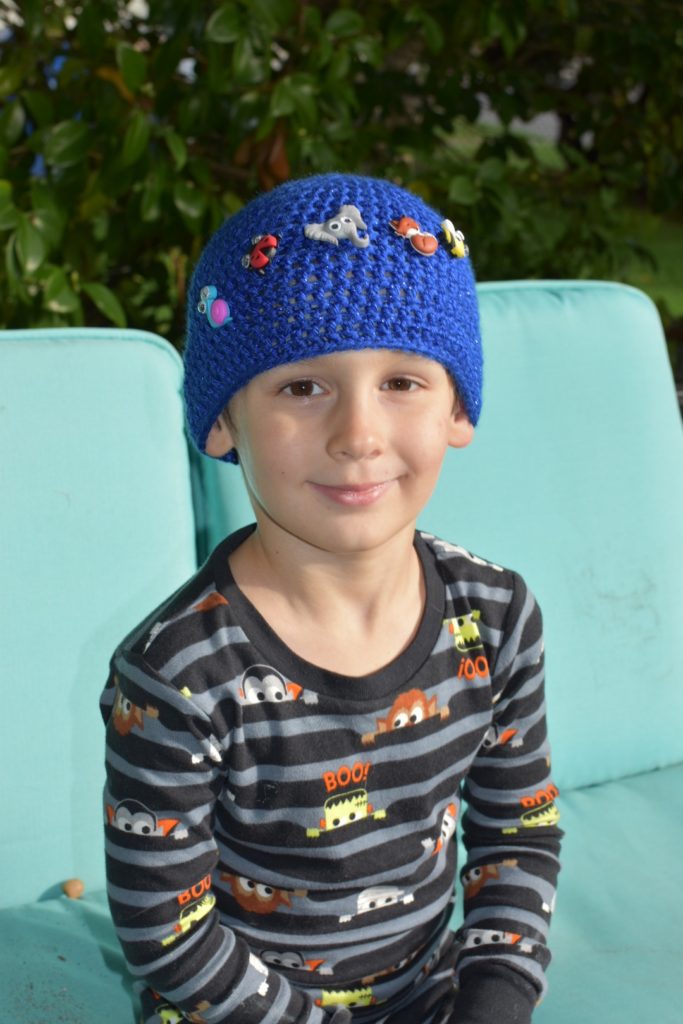
My almost 5 year old boys love things that they can customize. I don’t know if it’s part of asserting their own beautiful little personalities, or if it’s because they are twins and want to distinguish themselves from each other, but they get delighted when they have an article of clothing that they can make uniquely theirs.
Recently, I had the idea to make them each a hat they could customize by adding and removing charms. I don’t really have a name for this type of hat since I just made it up, so I’ll call it a “Crochet Charm Hat!”
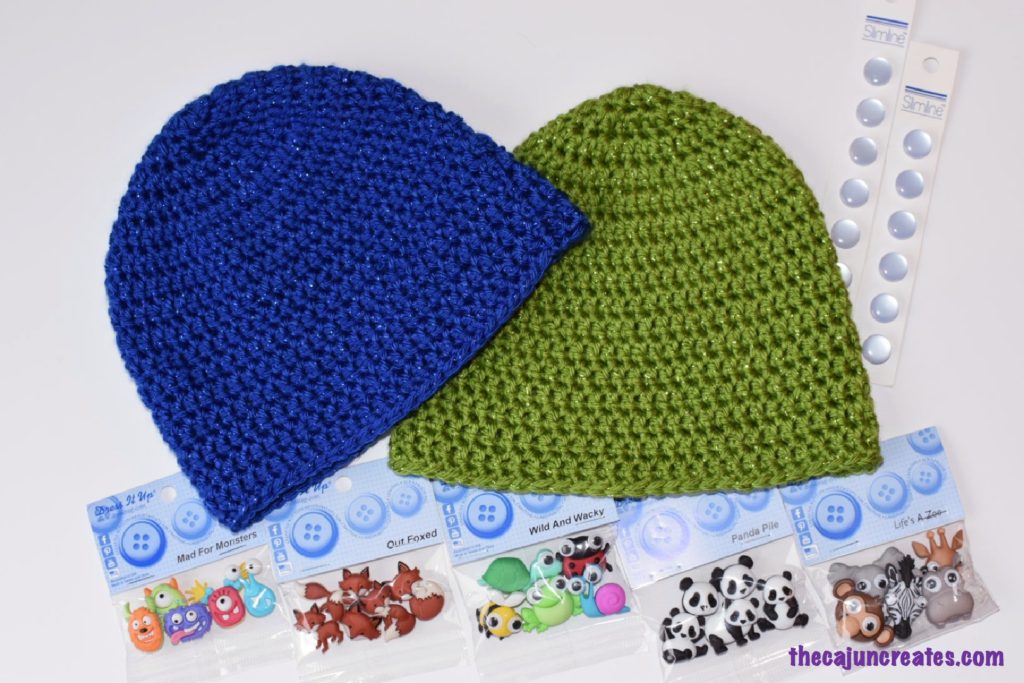
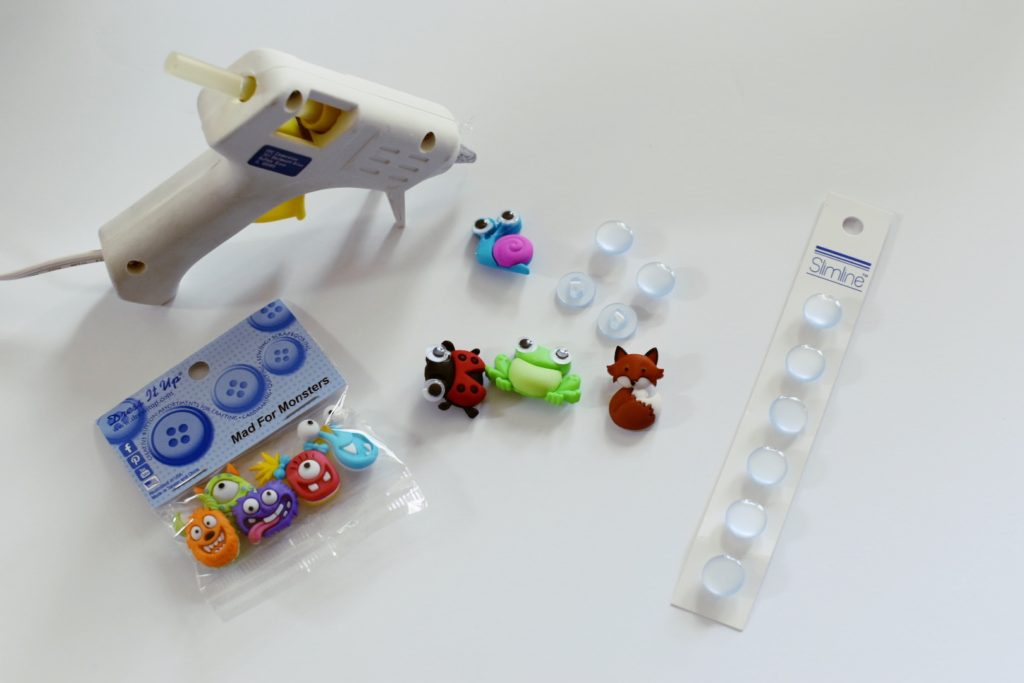
Here are the supplies you’ll need:
- Double crochet hat
- Charm buttons (or embellishments) like these monsters
- Flat shank buttons like these from Slimline
- Hot glue gun
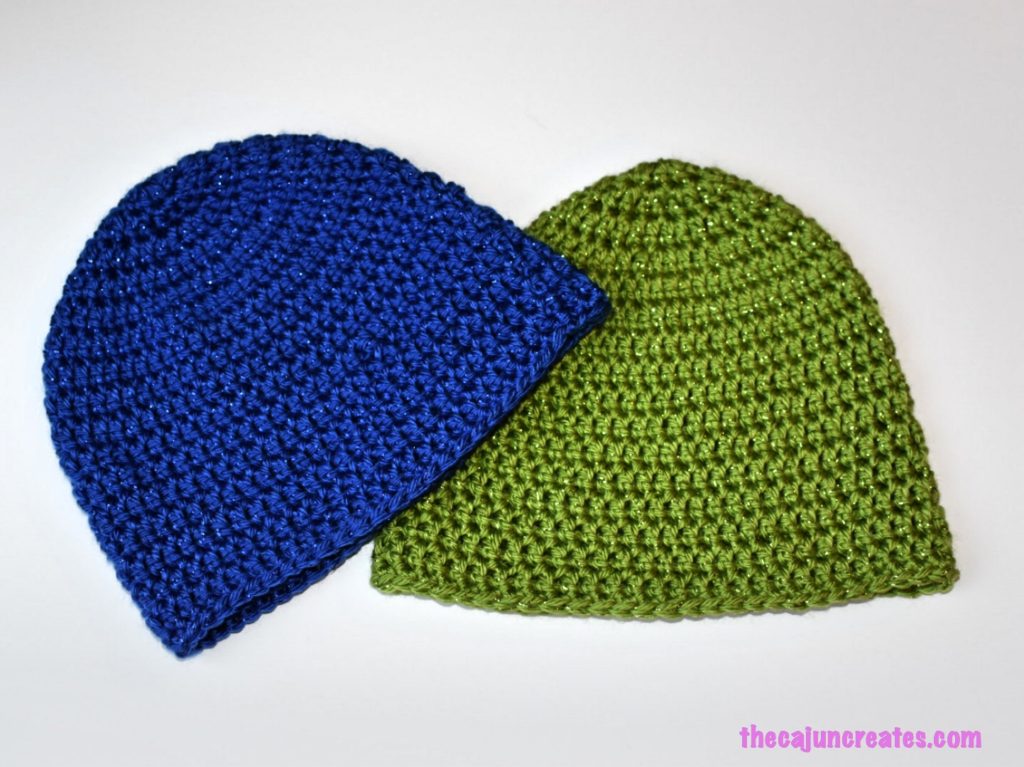
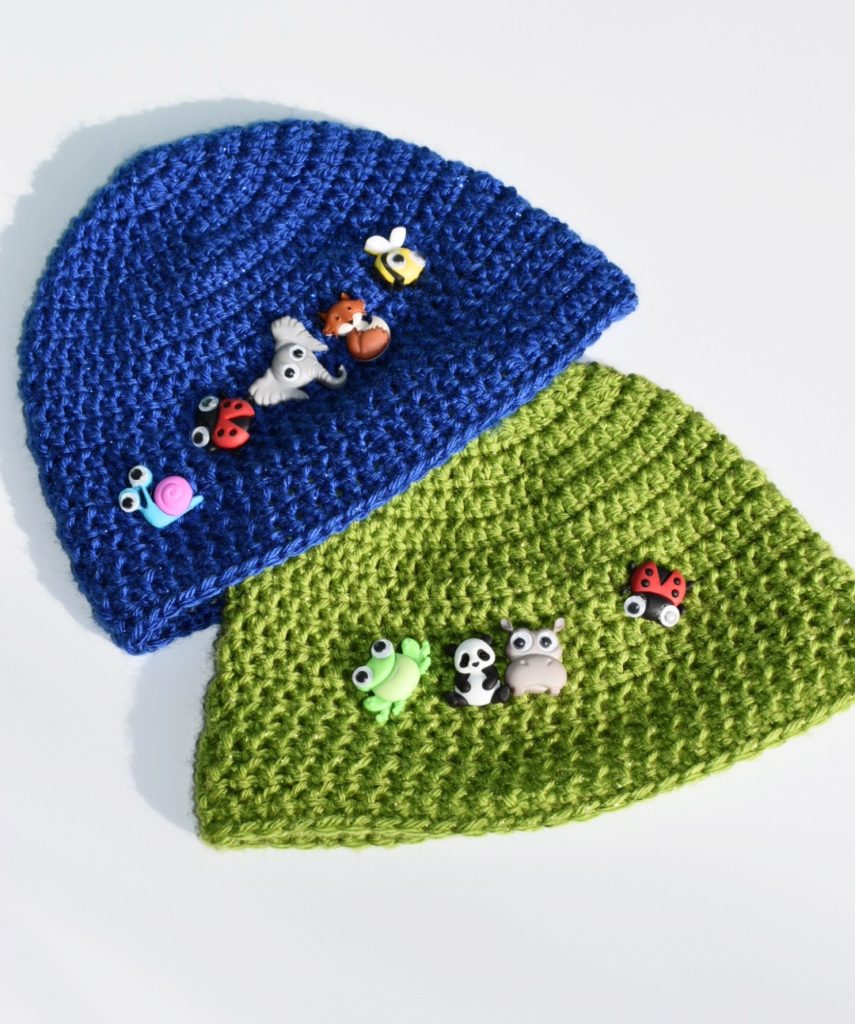
To make these, I started with a basic double crochet hat pattern. The one I used is here. To make these, I used a size H hook and Caron Simply Soft Party Yarn in Spring Sparkle (green) and Royal (blue). This was my first time working with this sparkle yarn, and I loved it. The yarn was easy to work with and the finished hats have a great sheen to them. (My husband has now requested a sparkle hat of his own in the green.)
Next, I had to make the charms.
On the back of each embellishment, add a drop of hot glue next to the shank.

Then press the back of the flat shank button to that glue dot, adhering the two buttons together.

Once the glue has dried, you’ve got a charm ready to place on your double crochet hat!
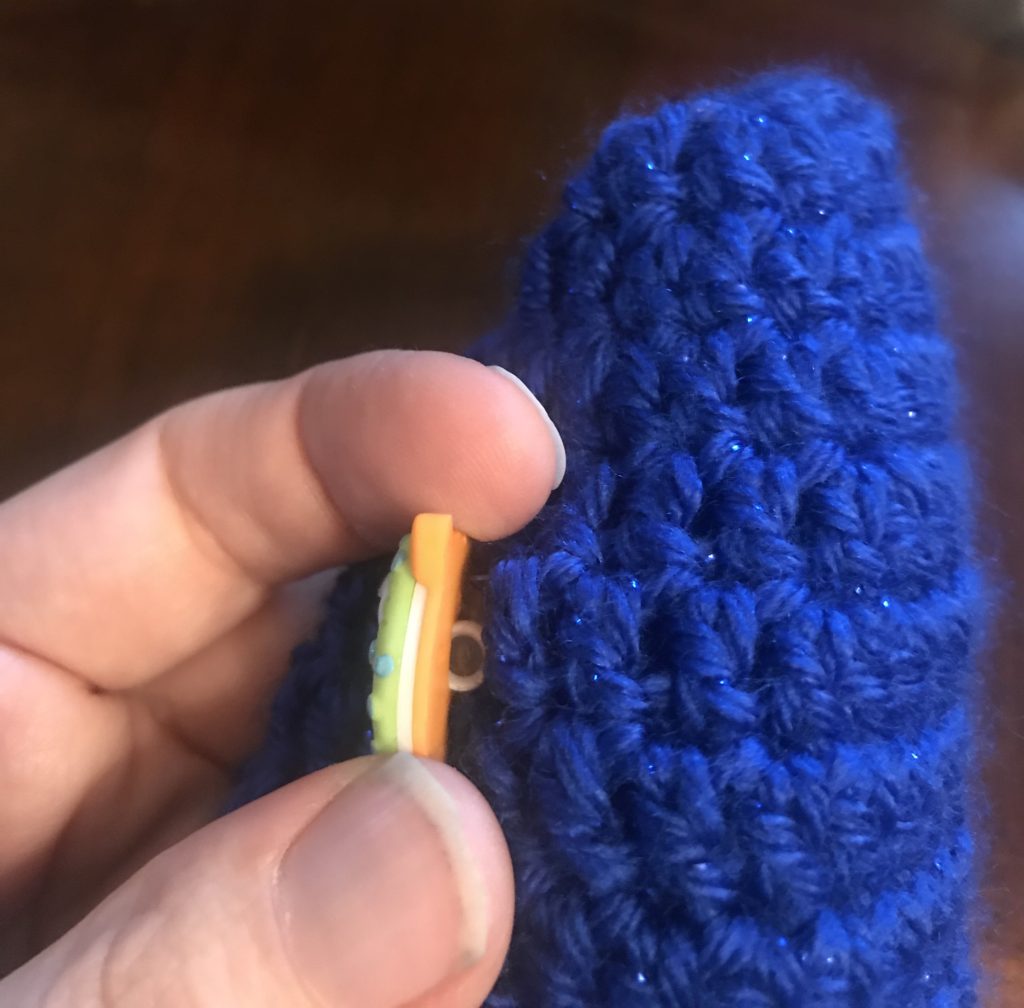
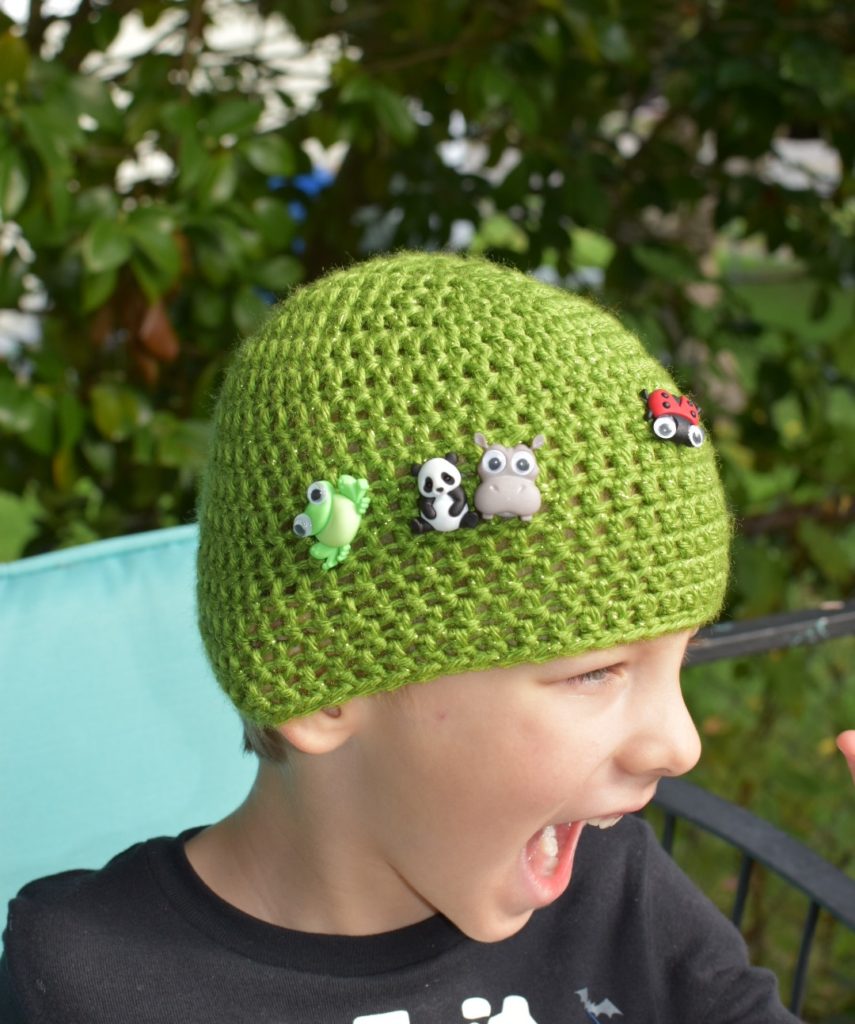
Attach the charm by sticking the shank button through the hat between two double crochet posts.
Et voila!

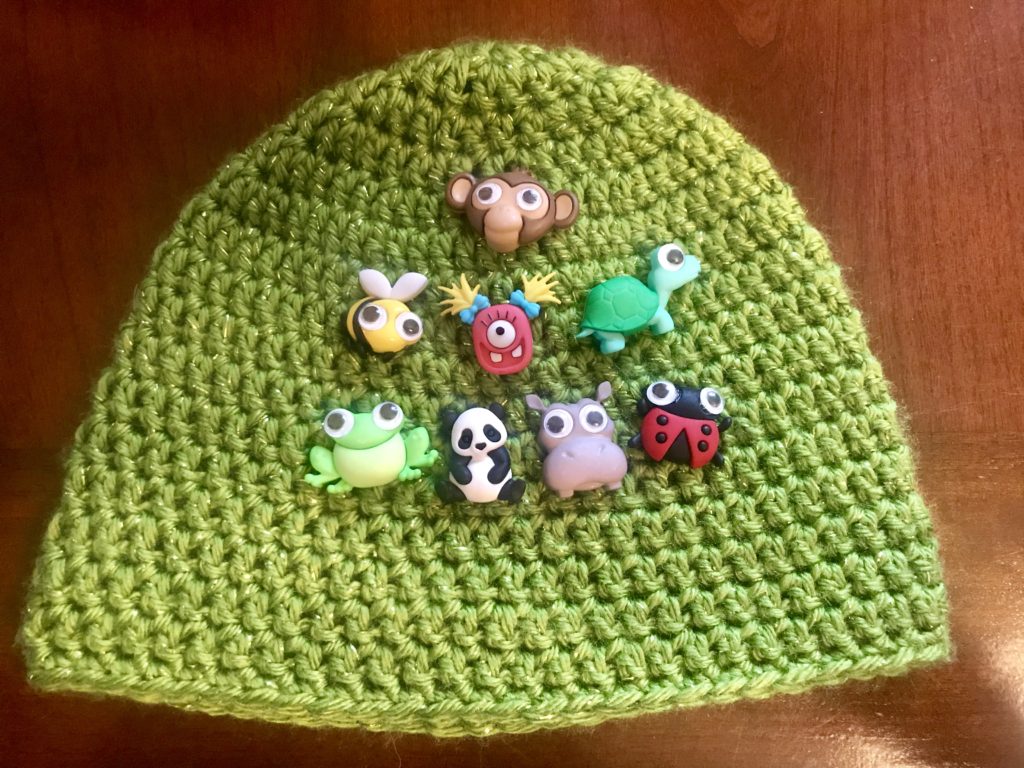
Now my boys are able to add and remove charms as often as they like.
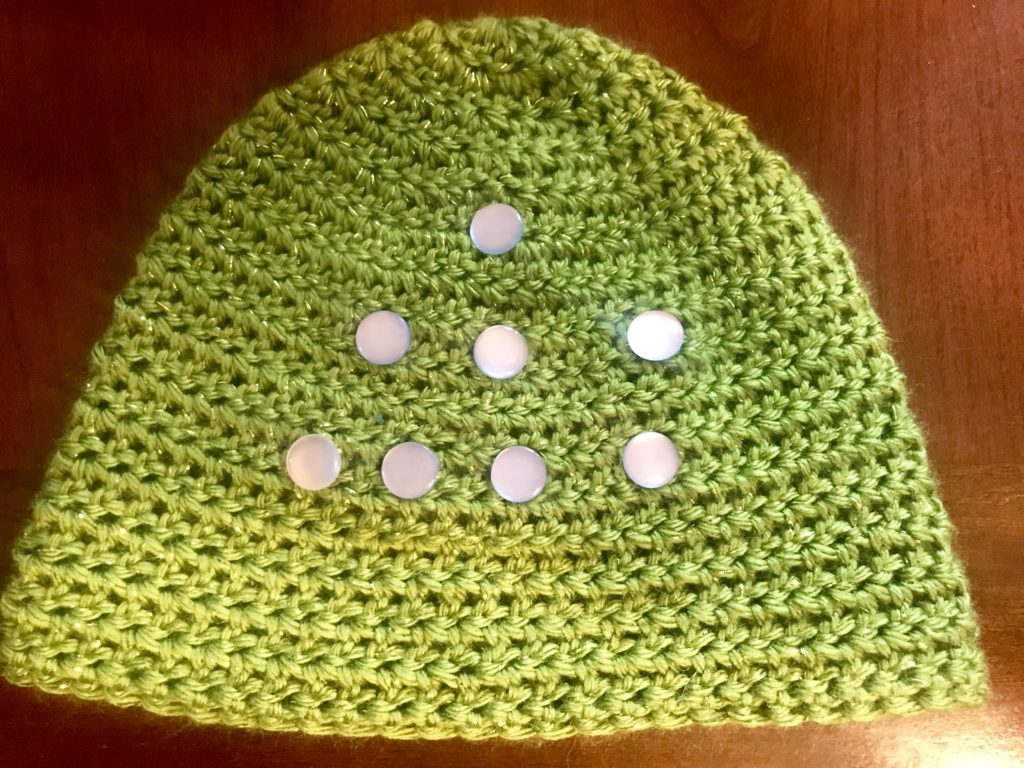
And the smoothness of the Slimline shank buttons makes the hat comfortable to wear, too. Here’s a photo of the inside of the hat with the charms attached:
My boys love their new hats and I love that they can change them up based on whatever their current interests are!
If you make a crochet charm hat, I’d love to hear about it! Leave a comment below or tag me on instagram @thecajuncreates and #crochetcharmhat.
Or save this for later by pinning it to Pinterest!